
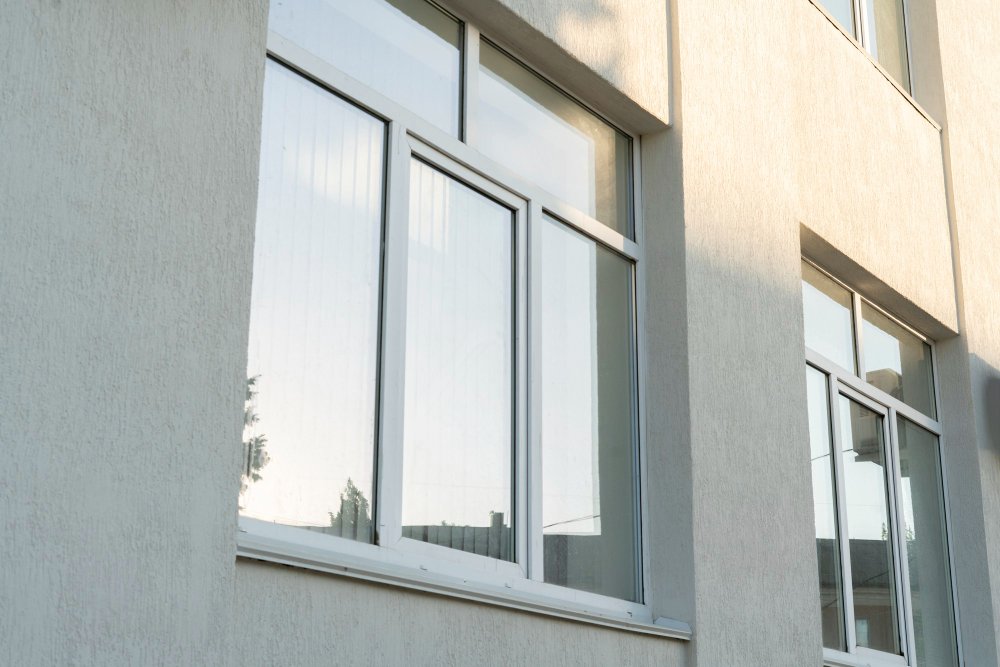
A bay window can give a home remarkable architectural character. By projecting beyond the exterior wall, it creates depth, captures additional natural light, and introduces a distinctive focal point to the façade. But that same projecting design also creates additional corners, joints, transitions, and exposed surfaces that must be protected from the weather.
This is where bay window outside trim becomes more than a decorative detail. Properly designed and installed trim helps frame the window while working with flashing, siding, sealants, and drainage details to manage water around the opening. When one part of that system begins to fail, deterioration can spread beyond the trim that is visible from the ground.
Peeling paint or cracked caulk may appear to be minor maintenance issues. Sometimes they are. But recurring stains, soft wood, widening joints, or repeated sealant failure can indicate that water is reaching areas it shouldn’t.
The right solution begins by determining why the trim is deteriorating rather than simply covering the symptoms.
The Problem: Bay Window Trim Is Highly Exposed
Bay windows project beyond the exterior wall, creating additional corners, seams, transitions, and sometimes horizontal or sloped surfaces where poorly managed water can reach vulnerable materials.
A conventional window generally sits within the plane of an exterior wall. A bay window extends outward, creating a more complicated assembly. Depending on its design, there may be multiple window units, vertical corners, a projecting base, an upper roof or cap, siding transitions, and numerous joints where different materials meet.
Each transition deserves attention because wind-driven rain does not always travel straight downward. Water can move across trim surfaces, enter poorly detailed joints, or collect where slopes and drainage paths are inadequate. Once moisture reaches vulnerable wood or underlying materials, deterioration may continue even though the visible opening appears small.
Failed sealant is one common warning sign. Exterior sealants naturally experience movement as building materials expand and contract with temperature changes. When a joint is incorrectly sized, poorly prepared, or repeatedly exposed to movement, the sealant can separate from the surrounding material and create an entry point for moisture.
Wood trim can provide beautiful architectural definition, but it requires proper protection. Exposed end grain, damaged coatings, and persistent moisture can accelerate deterioration. Composite, cellular PVC, fiber cement, and other exterior-grade trim materials may reduce certain maintenance concerns, but they still depend on correct installation and water-management details.
Watch for symptoms such as:
- Peeling or bubbling paint around trim boards.
- Soft or deteriorating wood near corners and lower sections.
- Cracked or separated sealant at exterior joints.
- Visible gaps between siding, trim, and window components.
- Water staining beneath or around the bay window.
- Recurring repairs in the same location.
One isolated cosmetic defect may require only straightforward maintenance. Several recurring symptoms in the same area, however, are a good reason to investigate the assembly more carefully.
Before / After Example
Before: Cracked joints, deteriorating trim edges, visible gaps, and repeated paint or caulk repairs around the projecting window.
After: Damaged material removed, underlying conditions evaluated, flashing and transitions corrected where necessary, and new exterior trim fitted to create a cleaner, better-protected architectural frame.
Why Bay Window Outside Trim Problems Happen
When exterior trim begins deteriorating, the trim itself is not always the original problem. Water may be entering higher in the assembly and traveling behind finished surfaces before becoming visible somewhere else. This is why simply replacing the worst-looking board does not necessarily produce a lasting repair.
Flashing is one of the first details to evaluate. Proper flashing helps direct water away from vulnerable joints and back toward the exterior. If flashing is missing, damaged, incorrectly layered, or poorly integrated with the surrounding weather-resistant barrier, moisture may find a pathway behind otherwise attractive trim.
Slope matters as well. Projecting components should be detailed so water moves away rather than remaining on vulnerable surfaces. Flat areas and poorly designed transitions can hold moisture longer, increasing exposure at seams and edges.
Installation errors create another source of trouble. Incorrect fasteners, exposed cut edges, insufficient clearances, improperly prepared sealant joints, or incompatible materials can shorten the life of an exterior trim system. Even premium materials cannot compensate for details that repeatedly direct water toward the building instead of away from it.
Normal material movement must also be considered. Wood, vinyl, metal, composite products, and other exterior materials respond differently to changes in temperature and moisture. If installation does not accommodate that movement, joints can open, boards can distort, and sealants may fail prematurely.
One principle is especially important: caulk alone is not a complete waterproofing system. Sealant can play an important role at appropriate joints, but it should work with flashing, drainage, and correctly installed exterior components rather than serving as the only barrier against water.
Maintenance can contribute to problems, too. Aging coatings, neglected joints, clogged drainage areas, or small defects left untreated can gradually allow more moisture into the assembly. Catching these conditions early is generally easier than repairing widespread deterioration later.
Common Mistakes When Repairing Exterior Bay Window Trim
The most common repair mistake is also the most understandable: treating what you can see without investigating what caused it. If a joint has opened, adding more caulk feels logical. If paint is peeling, repainting seems like the obvious solution. But when those symptoms are being caused by moisture behind the trim, cosmetic repairs may only postpone the problem.
Painting over deteriorated wood is a good example. A fresh coating may temporarily improve appearance, but it cannot restore material that has lost structural integrity. The damaged section needs to be evaluated, and the moisture source should be identified before the finished surface is restored.
Cosmetic repairs can temporarily hide damaged bay window trim while leaving the original moisture source untouched behind the finished surface.
Another mistake is replacing only one visibly damaged trim board without examining adjacent components. Because water can travel behind exterior materials, the area where deterioration appears may not be the location where moisture first entered.
Blocking intended drainage paths can create similar trouble. Exterior assemblies need ways to shed incidental moisture, and excessive sealant applied in the wrong location can sometimes interfere with that process. The goal is not to seal every visible opening indiscriminately, but to understand how the complete assembly is intended to manage water.
Using the wrong materials is another common problem. Interior-grade wood products, unsuitable fasteners, or sealants that are incompatible with surrounding materials may look acceptable immediately after installation but deteriorate rapidly once exposed to sunlight, moisture, and seasonal temperature changes.
The same principle applies to flashing. Replacing attractive trim without correcting defective flashing can leave the underlying vulnerability exactly where it was. A lasting repair should address the entire water-management path, not simply the component that shows the most visible damage.
Before / After Example
Before: A homeowner repeatedly seals cracking joints around the bay window, but moisture staining and deterioration continue to return.
After: The damaged trim is removed, concealed areas are inspected, water-management details are corrected where necessary, and new exterior-grade trim is installed as part of a coordinated assembly.
The Solution: Rebuild the Trim as a Complete Weather-Resistant System
Treat bay window trim, flashing, siding transitions, sealants, and drainage as one exterior system rather than repairing each visible component separately.
A dependable repair begins with removing deteriorated material far enough to understand what is happening underneath. This doesn’t automatically mean dismantling the entire bay window, but damaged sections should not simply be covered with new trim before the underlying condition has been evaluated.
Once the trim is removed, the substrate can be inspected for staining, softness, deterioration, or other evidence of moisture exposure. If damage extends beyond the decorative trim, those affected materials may also need attention before the exterior is closed again.
Flashing should then be evaluated as part of the repair. The objective is to create properly layered details that encourage water to move outward and downward rather than behind the siding or window assembly. Upper transitions deserve particular attention because water entering above a window can travel before becoming visible lower down.
The replacement trim itself should be suitable for exterior exposure. Depending on the design and desired appearance, options may include properly prepared wood, cellular PVC, composite products, fiber cement trim, or other manufacturer-approved exterior materials. Each product has specific fastening, spacing, finishing, and installation requirements that should be followed.
Integration with siding is equally important. The finished bay window outside trim should create a deliberate transition between the window assembly and the surrounding façade without interfering with intended drainage. Clean proportions improve appearance, but correct layering provides the protection behind that appearance.
Sealant is then used selectively where appropriate. Joints should be properly prepared, compatible products should be selected, and movement should be considered. Applying a thick bead of caulk over an incorrectly constructed joint is not a substitute for rebuilding the detail correctly.
Finally, exposed surfaces should receive any coatings or finishing required by the trim manufacturer. Cut ends and other vulnerable locations deserve particular attention when working with materials that require field finishing.
The difference is significant. Instead of repeatedly treating symptoms, the repair addresses the conditions that allowed deterioration to develop in the first place.
Best Practices for Long-Lasting Bay Window Trim
Even properly installed exterior trim benefits from periodic inspection. Bay windows are particularly worth watching because their projecting geometry creates more transitions than a typical flat window opening.
Start by visually checking the trim after severe weather and during routine exterior maintenance. Look for opening joints, discoloration, peeling finishes, cracked sealant, loose components, or areas where water appears to linger. Changes that repeatedly appear in the same location deserve closer investigation.
Where painted wood is used, maintain the protective coating according to the product and coating manufacturer’s recommendations. Small areas of exposed wood should be addressed before prolonged moisture exposure creates a larger repair.
Keep gutters, roof sections, and drainage paths above the bay window functioning properly as well. Sometimes apparent window-trim problems begin with water being concentrated onto the assembly from another part of the exterior.
Several practices can improve long-term performance:
- Inspect joints periodically for separation or sealant failure.
- Watch for staining that may indicate recurring moisture exposure.
- Maintain protective coatings on materials that require painting or sealing.
- Keep drainage paths clear so water can move away from the assembly.
- Address deterioration early rather than repeatedly covering it.
- Use exterior-rated materials appropriate for the application.
- Follow manufacturer requirements for fastening, spacing, sealing, and finishing.
Long-lasting bay window outside trim combines durable exterior materials with appropriate flashing, drainage, sealing, finishing, and routine inspection. When recurring damage appears, identify the moisture source before making another cosmetic repair.
Ultimately, attractive bay window outside trim should do more than outline the window. It should complement the architecture while forming part of a carefully detailed exterior assembly designed to manage weather exposure.
If deterioration keeps returning after repainting or resealing, consider that a warning rather than a maintenance inconvenience. Finding and correcting the underlying cause can protect the trim, surrounding siding, and concealed building materials while restoring the crisp architectural character that makes a bay window such a distinctive exterior feature.